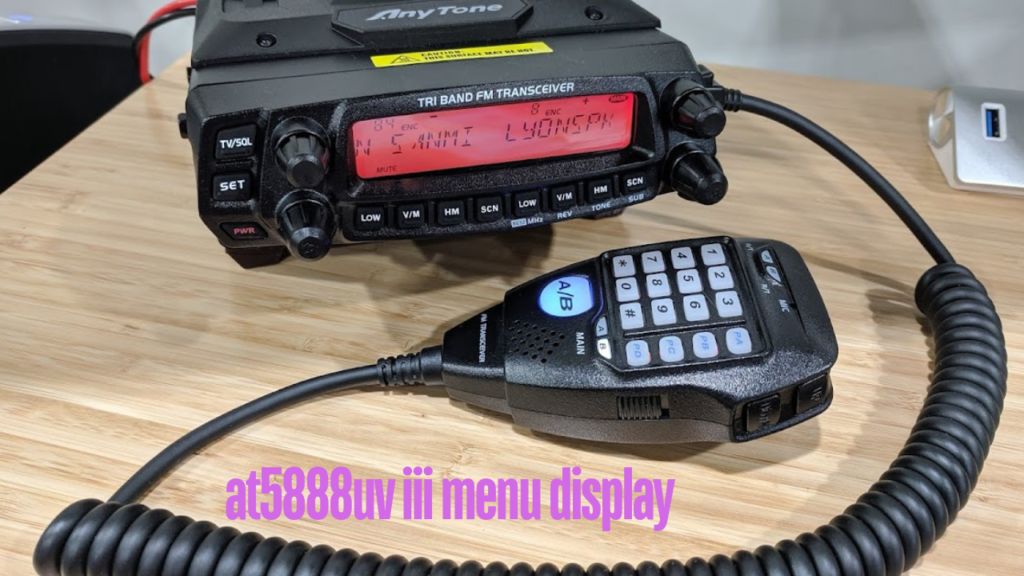
Understanding the AT5888UV III Menu Display
The AT5888UV III menu display is designed to make navigating the various features and settings intuitive. At its core, the radio offers three main display modes that cater to different user preferences, making it easier for operators to monitor their activities and adjust settings on the fly.
Frequency Mode (FREQ): In this mode, the display shows both the channel number and the corresponding frequency. This is ideal for users who need real-time frequency information, especially when operating in environments where precision and frequency monitoring are critical.
Channel Mode (CH): For those who prefer a simplified view, the channel mode displays only the channel number. This can be particularly useful when the operator is already familiar with the assigned frequencies and wants a cleaner, less cluttered display.
Name Mode (NAME): In this mode, if a channel name has been assigned to a particular frequency, the display will show both the channel name and the number. If no name is assigned, it defaults to showing the frequency. This is useful for operators managing multiple channels with specific names, like “Local Repeater” or “Emergency Channel.”
Switching between these modes is straightforward. By entering the menu and selecting Menu No. 37 (“DISPLAY”), you can choose the mode that best suits your needs. This versatility makes the AT5888UV III menu display a powerful tool for operators who require different levels of information at different times.
Navigating the AT5888UV III Setup
The AT5888UV III setup process is crucial for customizing the radio’s functionality to match your operational requirements. With numerous menu options, it’s essential to understand how to access and configure the core features of the radio.
Scan Settings
One of the most important features in any transceiver is the ability to scan for active frequencies. In the AT5888UV III, this can be customized through the Menu No. 34 (“SCAN”). The scan settings offer three options:
TIME: The scan pauses for 5 seconds when a signal is detected, then resumes scanning.
BUSY: The scan pauses as long as the signal is present and resumes after the signal disappears for 2 seconds.
SECEDE: The scan stops entirely once a signal is detected, which can be useful when you want to lock onto a frequency without continuing to scan.
Configuring these settings through the menu allows users to tailor how their radio behaves when scanning for signals, ensuring it fits their specific needs.
Priority Channel Scan
If you frequently operate on a particular channel, setting up a priority channel can save time and ensure you never miss critical communications. The AT5888UV III setup allows you to configure this through Menu No. 35 (“SCAN M”). When enabled, the radio will prioritize scanning the selected channel over others.
This function is particularly useful for emergency responders, weather spotters, or any operator who needs to keep a constant check on a specific frequency.
Offset Frequency
Offset frequency is another vital feature, particularly for those operating through repeaters. The offset allows the radio to transmit and receive on different frequencies, a common requirement in repeater-based communication.
In Menu No. 36 (“SHIFT”), the AT5888UV III allows you to set the offset frequency between 0-100MHz. This range is more than enough for most amateur and commercial radio applications, and setting it up correctly ensures smooth communication through your chosen repeater.
Busy Channel Lockout
The Busy Channel Lockout feature prevents the radio from transmitting on an already active frequency, avoiding interference. This can be configured through Menu No. 38 (“REPLOCK”). You have three options:
RLORP: Locks out when the channel is busy but the tone codes (CTCSS/DCS) don’t match.
RLOBU: Locks out whenever the channel is busy, regardless of tone.
OFF: Disables the lockout feature entirely.
This is a crucial setting for ensuring that your transmissions don’t interfere with ongoing communications, particularly in crowded frequencies.
DTMF and 5Tone Setup
Dual-tone multi-frequency (DTMF) and 5Tone signaling are used for selective calling and remote control functions. These features are highly customizable within the AT5888UV III, and can be accessed through Menu No. 39 (“DTMF ID”) and Menu No. 40 (“5TONE ID”). These menus allow you to enter the DTMF or 5Tone ID that the radio will transmit, making it easier to integrate into existing networks that use these signaling methods.
Using Software for Easier Setup
For those who want to streamline the setup process, there is software available from RT Systems that simplifies programming the radio. This software allows users to program frequencies, DTMF codes, and other settings from their computer. With this tool, managing the AT5888UV III setup becomes far more efficient, especially when dealing with large numbers of frequencies or settings
The software also supports external data integration, allowing you to access repeater databases like RadioReference and RepeaterBook. This ensures that your radio is always updated with the most relevant local frequency information, making it easier to operate in unfamiliar locations
Conclusion
Mastering the AT5888UV III menu display and AT5888UV III setup is essential for making the most of this powerful mobile transceiver. From configuring scan settings and priority channels to managing offset frequencies and busy channel lockout, the AT5888UV III offers a range of features designed to enhance communication efficiency. By following this guide and using software tools where necessary, you can ensure your radio is always optimized for your specific operational needs

8 Comments
tadalafil 5mg usa – buy sildenafil without prescription cheap sildenafil pills
viagra 100mg us – viagra canada is cialis generic
buy cenforce 50mg sale – order glucophage pills buy glycomet 500mg
buy atorvastatin 40mg generic – purchase prinivil pills zestril 5mg usa
buy omeprazole 20mg – order lopressor 100mg buy generic atenolol 50mg
order depo-medrol pills – lyrica pills buy triamcinolone pills for sale
buy clarinex medication – order claritin 10mg online order priligy 30mg for sale
cytotec oral – diltiazem 180mg for sale diltiazem online